Learn How to Build Your Own Raised Garden Beds Before Spring!
Want to know a secret?
Raised bed gardening is the solution to many of your gardening problems.
While not only providing you space to grow delicious, fresh food or beautiful flowers, raised beds deter many types of pests and help protect your back.
The best part is that you can construct solid, aesthetically-pleasing beds in one weekend (or less)!
And, we’ve got the steps below to prove it.
Read on as we present how to create our cedar, untreated beds with steps and sketches.
We included a tools list and materials list with the same sizes and quantities necessary for the beds we built. If you plan to go bigger on bed size, go for it!
By the end of this post, you will learn how to create your VERY own raised garden beds in time for spring planting!
Read our Raised Garden Bed post to learn the following:
- The many benefits of using raised garden beds
- Steps to build your own raised beds with diagrams
- Tools and materials needed for your beds
In a hurry and want to save this for later? Pin it and read it when you have time!
Introduction to Raised-Bed Gardening
We built our raised garden beds from scratch and you can too.
For those of you that are new to this or are not quite sure, a raised garden bed is an elevated area used to grow different vegetables or plants.
The size of a raised garden bed can vary from very small to very large depending on the specific use of the bed.
Usually, each bed is constructed out of some kind of wood or rock/stone then filled with a specific kind of soil.
These beds are in contrast to ground garden beds that are literally planted in the ground.
Benefits of Raised Garden Beds
A raised garden bed is useful for SO many reasons.
It is elevated above the surrounding environment thus offering protection from pests or various forms of wildlife.
Another bonus is that these beds are easier to reach for harvesting or maintenance.
A raised garden bed has specific soil that is protected from compaction by foot traffic or machinery, and since it’s elevated it can prevent weeds from the surrounding garden.
Other benefits of using a raised garden bed are to provide good drainage and create a dedicated space for specific kinds of gardening.
Types of Raised Beds
Types of raised garden beds include:
- Wood-raised beds (what we are showing you today!)
- Key-hole garden beds
- Mounded beds
- Rock or block raised beds
Raised Garden Beds Height
A raised garden bed can be any height you want them to be and can be tailored to your specific needs.
If you want taller beds for easier harvesting and maintenance, 18″ to 30″ can work really well.
You might consider beds about 6″ to 8″ high for shallow-rooted plants. It really is your choice depending on what you need.
Our Raised Beds
We began by thinking about the available space in our yard.
Previously, our raised beds were made from scrap wood leftover from other projects. Have you ever constructed anything for your yard in this way?
You combine all the leftovers together into one jumbled mess just to get by?
Well, our scrap consisted of all different shapes, sizes, and colors of wood and the end product looked like the Frankenstein’s monster of raised garden beds. (Sidenote: Did you know that Frankenstein is actually the name of the doctor, not the monster? Most people think of the monster when they hear the name).
Furthermore, the biggest issue was that none of our plants had enough growing space to produce much at all.
Our pitiful, Frankenstein garden beds barely amounted to 3 square feet of growing space.
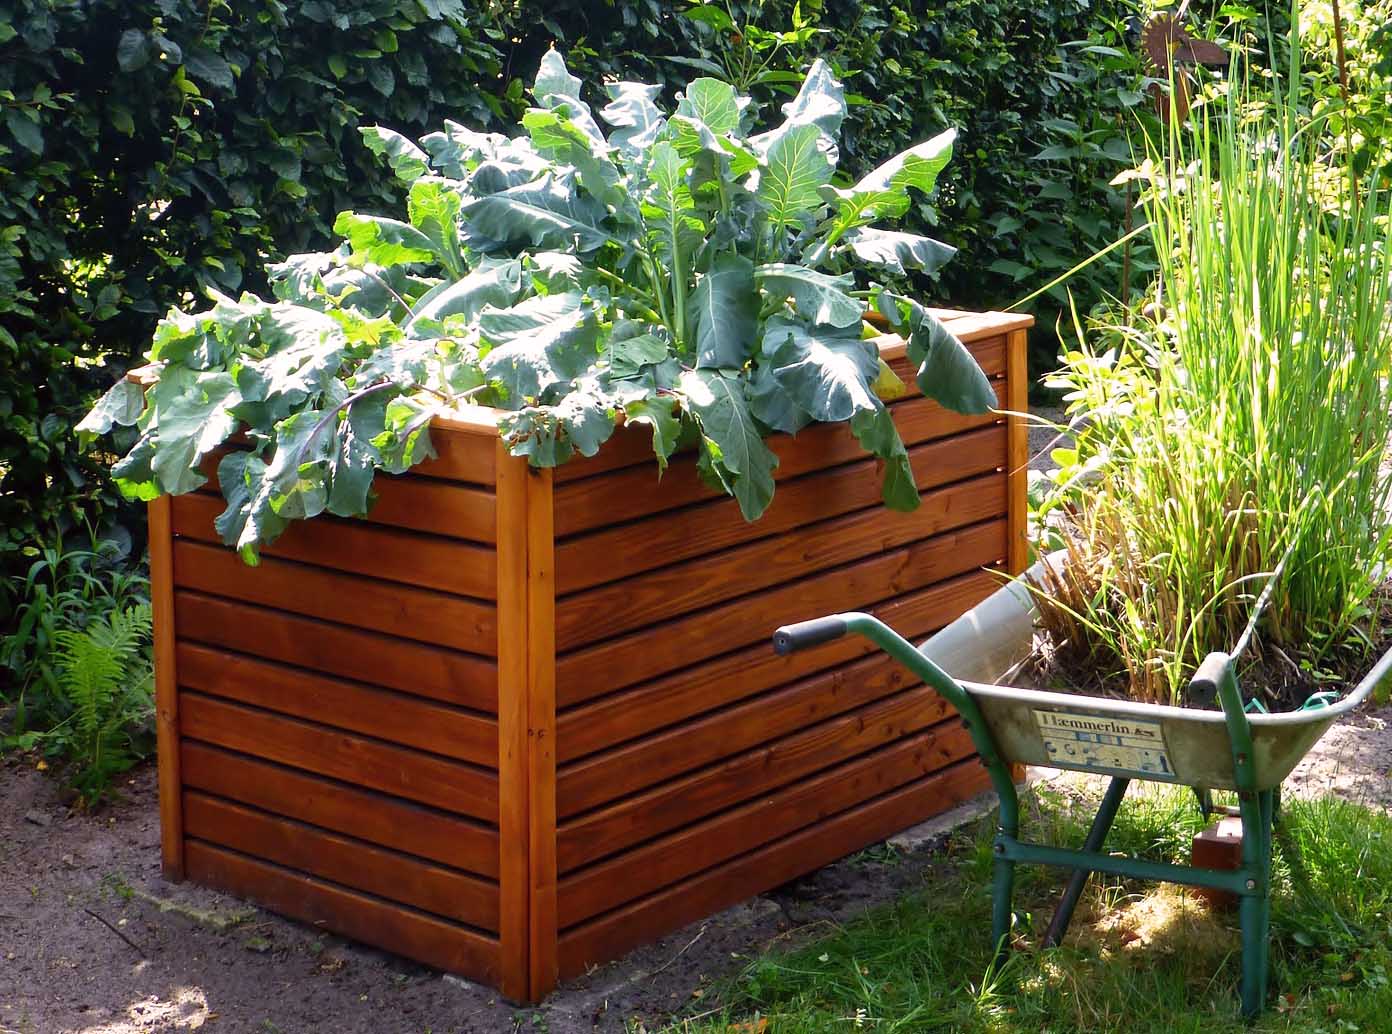
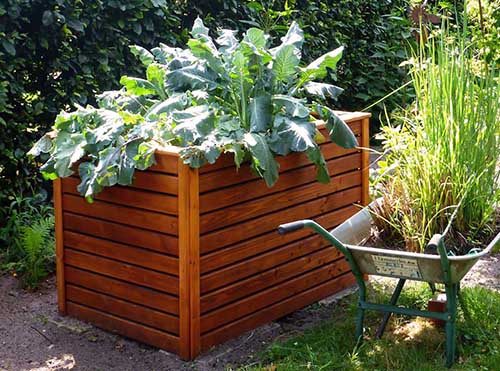
We decided to designate a specific, unused area for our two 3’x6’x15″ untreated, cedar raised garden beds.
Each bed is filled with a veggie-garden soil mix from a local landscape company.
One main addition to our beds that we won’t discuss in the steps below is the fence surrounding our garden.
The beds will be entirely fenced off so our precocious puppy won’t be able to dig in the garden, pull up plants, or get into any other trouble. A win-win for everyone!
Our beds will provide 36-square feet of growing space for our new crops and the ability to sequence our crops for successive harvests throughout the growing season.
(By the way, this post contains affiliate links. That means that if you click on any of the links we are promoting, we might get a small commission at no cost to you which helps us run our website and podcast).
Raised Garden Bed Materials
To construct and build your own raised garden bed like ours, measuring 3’x6’x15″, you will need:
- Untreated Cedar boards measuring 2″x6″x 12′ (x3 per bed or 6 total), 4″x4″x8′ (x1 per bed or 2 total)
- 1-lb deck or outdoor construction 3″ hex-head screws
- Rock (1/6th yard/bed or 1/3rd yard total)
- Garden Vegetable Soil – Compost Mix (0.75 yards/bed or 1.5 yards total)
- Landscape or weed barrier cloth (3’x60′ roll)
Of course, you will need to fill your new garden beds with all kinds of seeds, bulbs, veggie starts, and/or flowers after they are built!
This is the best part!
Check out our free Spring Garden Shopping List for ideas, tools, and plant material links.
Raised Bed Recommended Tools:
- Power Drill – What we used! We highly recommend this drill. If you buy it now at Amazon you can have it shipped to you by the time you start building your new beds.
- Regular Hammer – What we used! At Amazon!
- Carpenter Pencil – What we used! At Amazon!
- Carpenter’s Square – What we used! At Amazon!
How to Build Raised Garden Beds
Alright, time to put your DIY skills to work! Let’s get started!
Garden Beds Pre-Construction Steps
Step 1: Planning and Gathering
You should choose a location for your garden bed that will get LOTS OF SUN, as your vegetable plants will need plenty of it.
Partial shade in the morning or afternoon is ok, but NO full shade as your plants need that sun intensity for optimum growth to develop flowers and fruit.
The size of your raised garden beds will depend on:
- How much space you have to work with
- How much time you have to grow the amount of food you want to grow
- The deepest rooted crop you plan to grow (ie: carrots, onions, or potatoes are deep root-kinds of crops needing at least 12-inches soil depth).
We built our beds in rectangles measuring 3’x6’x15″, which means we won’t be having any deep-rooted crops, but can still tons of other veggies.
By the way, if you are starting off, we recommend you only build one bed.
You can then gauge how much time you have to grow, harvest, and maintain this one garden bed so you know if you can handle more beds.
Once you have your plan, next you need to start gathering all your materials, supplies, and tools.
Raised Bed Construction Steps
Step 2: Measure
 Just to reiterate, our beds are 6-feet long x 3-feet wide and stand 15-inches high off the ground (which is 3-levels of 2×6’s tall).
Start by measuring each 2×6 and 4×4 using your measuring tape, carpenter’s pencil, and angle.
Next, make your cuts as consistent as possible when following the marked lines.
All 4×4 posts should be16-inches in length.
Refer to the directional drawings below.
Tips:
- Be sure to set up a clear and open area to lay out the wood and have electrical outlets for your skill-saw and drill.
- Make sure to have your wood all laid out with 2×6’s and the 4×4’s grouped together.
- As you cut, keep them piled together so you can just pull from them as you lay them out, drill, screw, and move on to the next section. Believe me, it helps.
- Assembling your beds nearby your intended location is best so you don’t have to move it too far after fully assembled. Each bed will be pretty heavy and awkward to maneuver.

Step 3: Come Together, Right Now……

First, in an open area, place your first side and end down together so the side-board is snug against the end-board just inside its edge.
You will repeat this layout with each successive board on this first level and then repeat for the next two levels.
Next, place the 4×4 in the meeting corner where these two boards meet so it is snug up against them both.
Finally, drill 2 pilot holes per board, one above the other and as evenly spaced in an up and down orientation. The goal is for the connecting screws to anchor each board to the 4×4 post in each corner of your new garden beds.
To make this easier, try to have two electric drills each with either the drill bit or the driver so you don’t have to keep switching them out. HUGE TIME SAVER!
Tips:
- Refer to the directional drawings above and below.
- Be sure to only drill the two holes on each side first by securing with screws, and then drill the next two pilot holes on the next board so everything lines up and the boards aren’t overlapping on the end or mismatched.
- Some people will even drill one pilot hole and then place the screw at a time. The idea is that you can make more adjustments after each screw is drilled to get a better fit. It’s completely up to you!

CONGRATULATIONS! You just completed the first corner of your new raised garden bed! Give yourself a pat on the back!
Now keep repeating these steps for each side and end board pairing with the 4×4 posts until you create your first level.
Step 4: One Level, Two Level, Three Level GO!
Building on the first level, set up the second level the same as you did the first.
Move around the bed drilling a pair of pilot-holes into each board and then securing with screws.
The 4×4 posts will be secured in place when you complete the first level and you will just keep adding the boards until completion of each level.
Once the second and third levels of 2×6’s are attached, your raised garden bed is complete. If you decide to keep going  with more levels, that’s GREAT! Keep repeating the steps as needed until you are finished.
Remember to adjust the length of your 4×4 posts by the length of your bed boards. In this case, 5-inches per level to accommodate the added levels of your raised garden bed.
Post-Construction
Step 5: Location Placement
Your raised garden bed(s) is assembled and you now need to actually place it in its new home.
If you are like me and couldn’t assemble your bed(s) nearby their intended location (it was a REALLY rainy day, so assembly was in the garage), moving it will be a slight challenge.
Follow these steps below when placing your new beds:
- Laying the bed on its side and then pulling it worked best.
- Alternatively, you could try placing the bed on a cart or even on a tarp and then move it into place.
- Be sure to orient the bed either North-South or East-West directions. It depends on how you are going to plant your beds.
- When placing the beds, be cognizant of foot traffic and nearness to any structures or large trees potentially shading them out.
Pro Tips:
- Before placing in the final location, be sure to level the area and fill in any low spots.
- When placed, rock and shimmy the bed into place so it is snug to the ground and level.
- You might have to make minor adjustments in height with soil or other materials to get it level.
Step 6: Fill and Plant
Now that your bed(s) is built and placed in your new garden location, it’s time to fill the bed with soil and start to plant your vegetables.
It’s all about the layering. Start to think fabric/rock/fabric/soil from the ground up.
Once your bed is placed, you can choose to line the very bottom with landscape fabric or another kind of weaved material.
This will help hold the material in the bed so it doesn’t spill out the sides. Make sure to have extra cloth so it  comes up a couple of inches on the inside of the bed walls.
Drain rock now needs to be placed directly on top of the cloth, lightly at first around all the edges to anchor the cloth and then fill the rest of the bed.
The drain rock should be anywhere from 1-3 inches thick for a good layer so water can move through. This layer is necessary so your plants don’t sit in standing water.
Once your drain rock is at the desired thickness, then lay another layer of landscape fabric over it, just like you did with the first layer.
Next, start placing vegetable mix soil on that fabric. Begin by placing soil in the corners and along the edges.
Continue filling your new garden bed with soil until it’s level with 1-2 inches below the top board of the garden bed due to the soil settling over time with watering and gravity.
After building, and planting your vegetable raised garden bed, be sure to keep your plants regularly watered, fertilized, and maintained.
This will make a BIG difference in the overall success of your new beds.
Tips:
- If the soil is too shallow, water can run right over the edge displacing soil. This will create a mess as soil could spill over the side of your bed. Also, more water will run over the edge than infiltrate down into your garden.
- Once all your plants are sown and placed, remember to add LOTS of water as needed.
Raised Garden Bed Conclusion
Well, are you ready to build your new garden beds?
Sometimes the hardest part is just getting started.
Whether you choose to make one bed or multiple, you can rest assured that your new beds will be better on your back, eliminate pests, and help with good drainage.
Now we want to hear from you!
Which type of raised garden bed do you want to construct?
Are you going to use untreated cedar? Or, would you rather use stone or concrete?
What size beds do you want?
Let us know by leaving a quick comment below!
Related Raised Garden Bed Resources:
- Ep 19: Vegetable Gardening Part 2
- Top 5 Spring Garden Tasks You Should Start Right Now!
- Ep. 15: Spring Garden Clean Up & To-Do List
- Spring Garden Shopping List For Planting!
Thanks for reading and we hope this list will help you find inspiration to build your own beds.
In addition, we have tons of garden resources available for free. Check them out!
See you in the garden!
~ Sean and Allison
P.S. Find us on Pinterest, Twitter, Facebook, and Instagram so you don’t miss a thing!
P.P.S. Check out our Resource Library page for FREE printable freebies in our Resource Library!
References Used
- “How to Build a Simple Raised Garden Bed” – Good Housekeeping
- “Make Cheap Raised Garden Beds” – HGTV
*Spoken Garden is a participant in the Amazon Services LLC Associates Program, an affiliate advertising program designed to provide a means for sites to earn advertising fees by advertising and linking to Amazon.com
Build Your Own Raised Garden Beds Before Spring Planting Season.
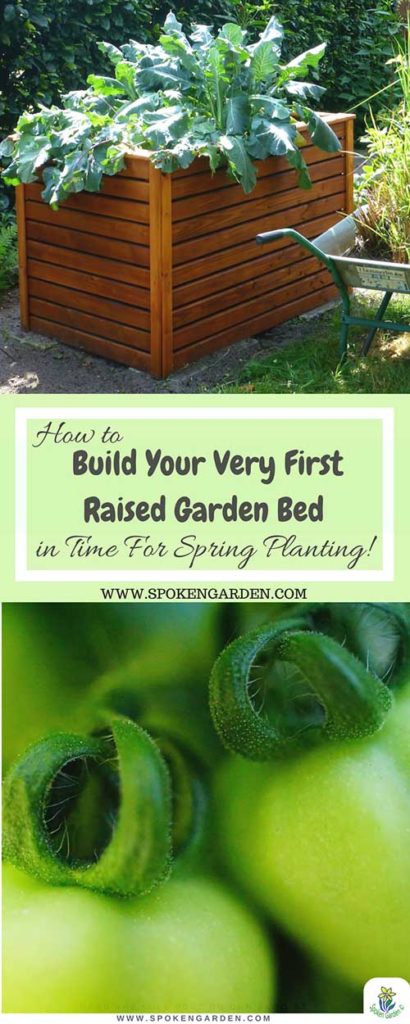
Click the graphic above to save Building Raised Garden Beds to Pinterest for later!
